Scanner Devices
- Modules: Scanning
- Enhances: Concessions, Incentivization, Physical Access Control
Overview
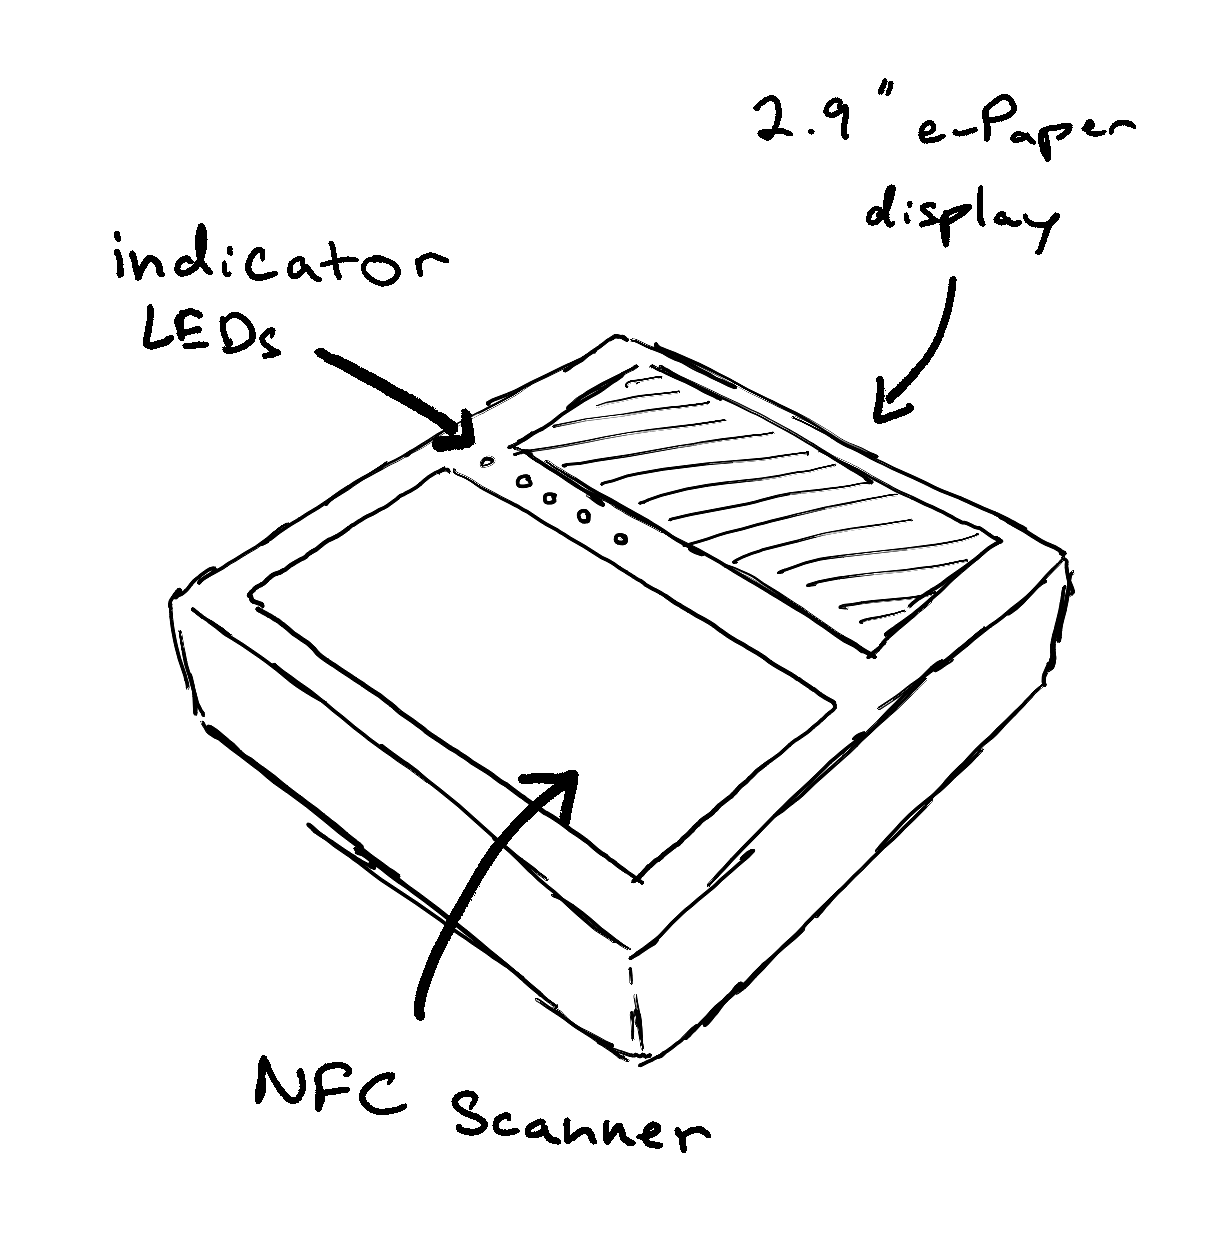
Badger features portable, wireless, battery-powered NFC scanners that allow events to link together in-person and online event functions.
Scanners may sometimes be referred to by their product name: "BX", where the "X" signifies major iterations (e.g. "B1" refers to a "Badger One" unit). These are specialized devices designed, engineered, and assembled internally at GoBadger LLC, running on a custom operating system: BadgerOS (BOS).
The most current versions available are:
- B1 Gen 1 (bx v1.1.3)
- BadgerOS (bos v1.2.0)
Compatibility
Scanners are compatible with Badger-provided NFC event badges.
Customers sourcing event badges through a third-party are responsible for making sure that their badges are compatible with the MFRC522 chip. Badger recommends enabling compatibility mode in this instance, which truncates all tag UIDs to the first 4 bytes.
Turning Your Scanner On
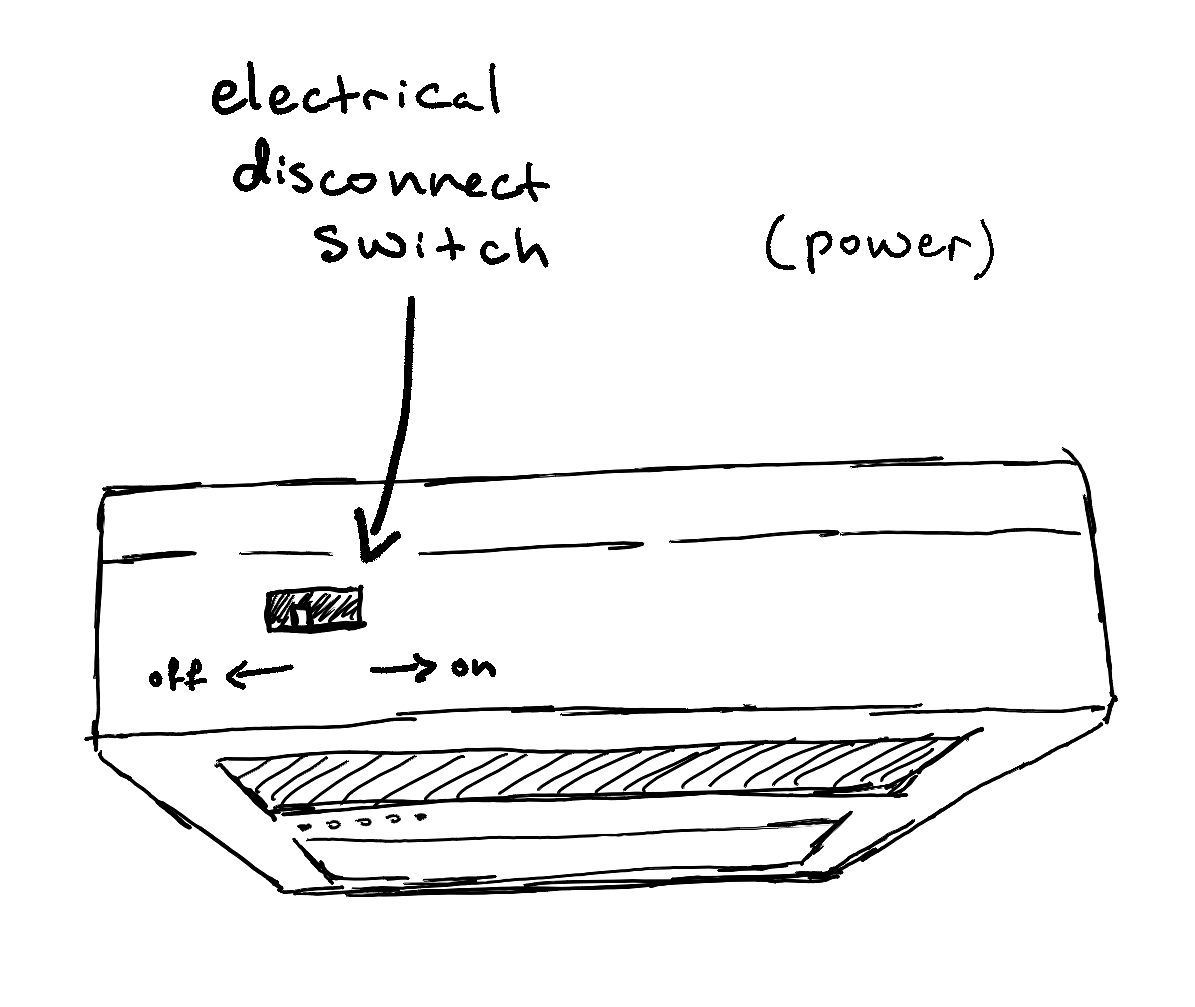
To turn your Scanner on, slide the electrical disconnect switch at the top of the unit to the right. The indicator LEDs will turn on, indicating that the Scanner is booting BadgerOS.
To discourage tampering by event attendees, the electrical disconnect switch is hidden inside of a slot in the case and requires a small stick, such as a paperclip, toothpick, etc. to access.
Fresh Scanners may need to charge their internal capacitors to stabilize operating voltage for the initial first boot. If the indicator LEDs do not turn on, wait a second and then turn your Scanner off and back on with the electrical disconnect switch.
Charging Your Scanner
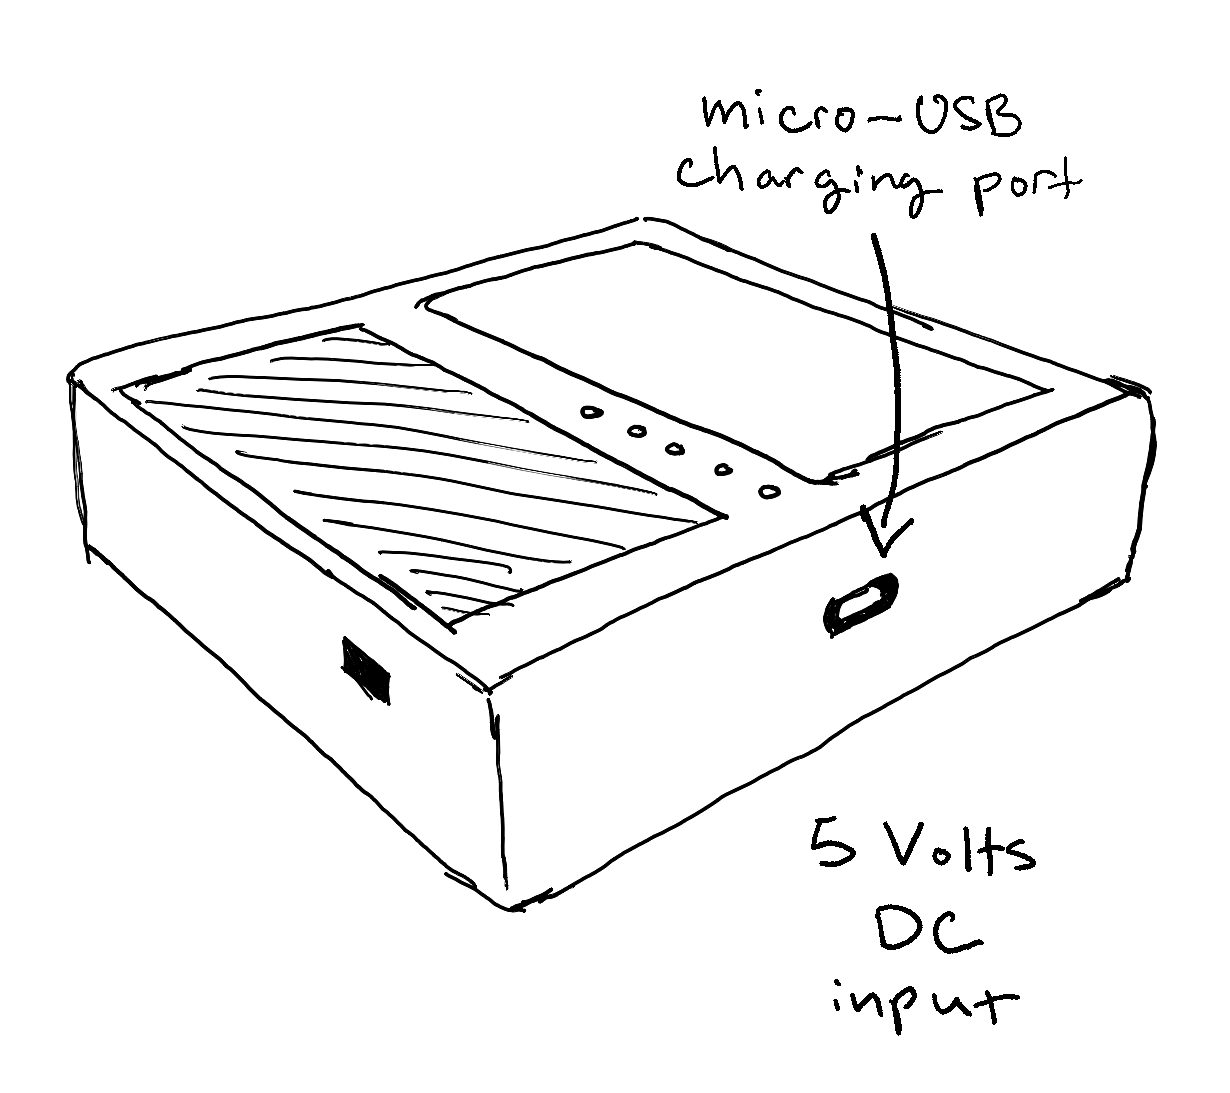
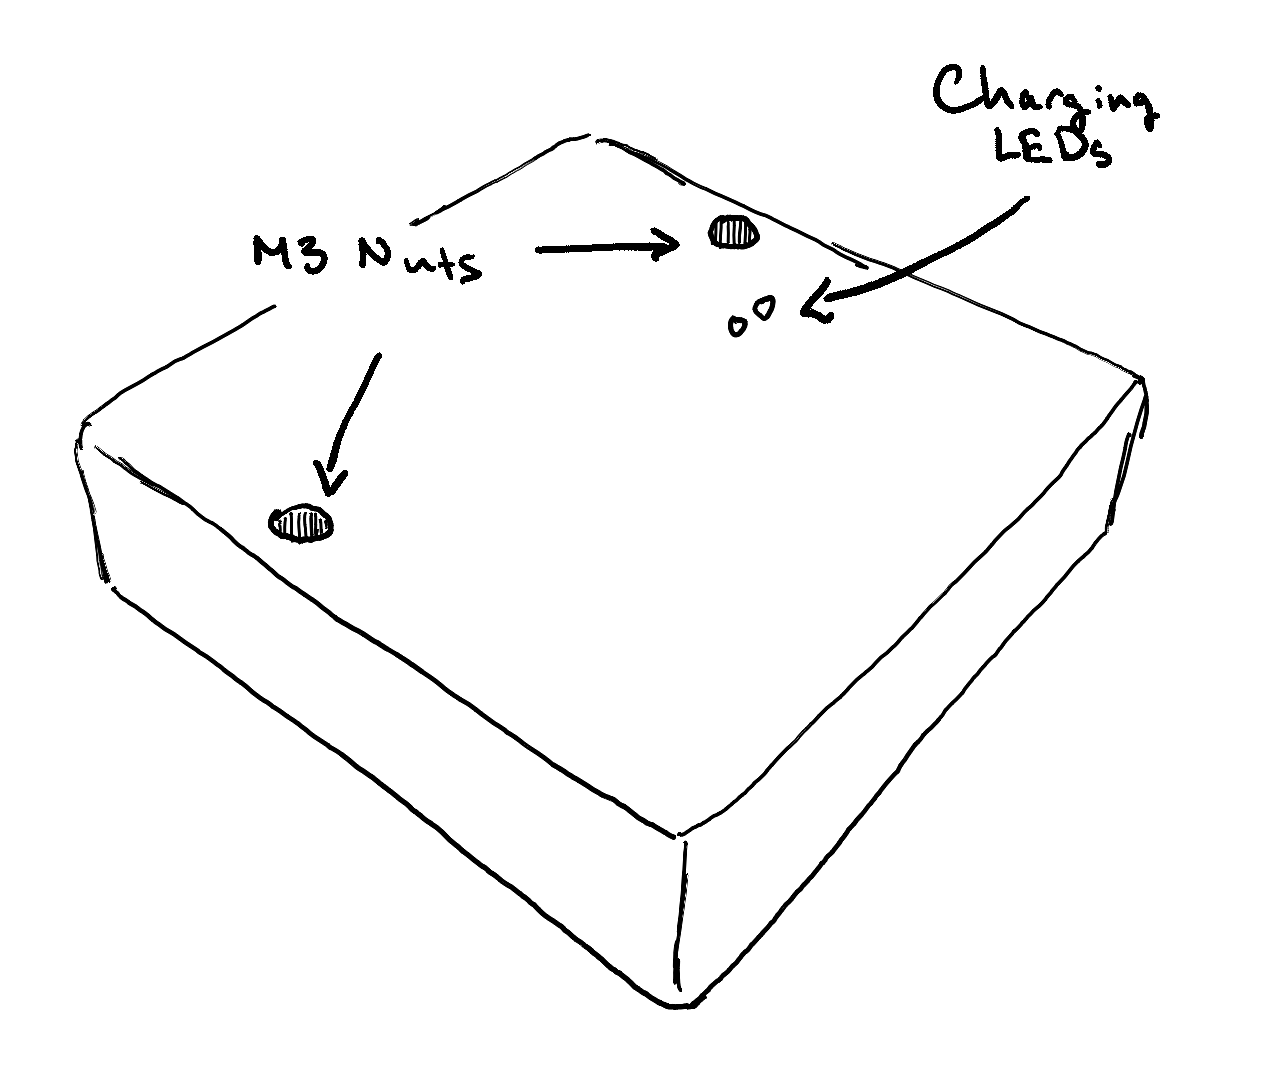
To charge your Scanner, make sure that the electrical disconnect switch is in the right-hand position. Then, use the micro-USB charging port to supply 5 Volts DC. An LED will turn on in the back to indicate that it is receiving power via the charging port.
To be more specific, Badger Scanners have a USB Micro-B 2.0 charging port; this is what people commonly call "micro-USB."
Wi-Fi Setup
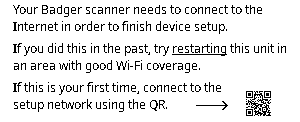
The first time you set up your Scanner, or if you're setting up your Scanner in a new wireless environment, you will be presented with instructions to connect your device to a Wi-Fi network.
Use your smartphone to scan the QR code to connect to the setup network. Then, fill out the form on the network's captive portal page. Afterwards, the Scanner will try to connect to the Wi-Fi network.
The Scanner will remember this setting for subsequent boot-ups, and you will only need to set up Wi-Fi again if the network connection fails upon subsequent boots.
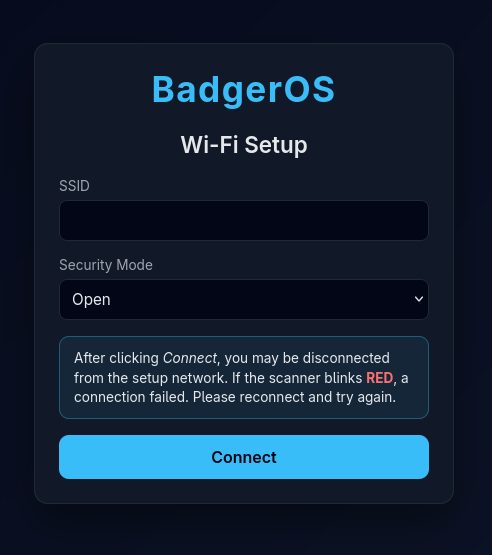
Badger Scanners support Open, WPA2, and WPA2-Enterprise (PEAP) networks.
The Lifecycle
Your Scanner will begin to accept badge scans after boot-up.
Depending on the Scanner's configuration, it may respond to badge scans with a RED, ORANGE, or GREEN LED. Depending on the Scanner's configuration, it may flush its scan buffer to the Badger Web Core (BWC) every 30 seconds in batches, or it may flush its scan buffer immediately after every scan. If the BLUE LED is on, that means that there are scans in its internal buffer that it hasn't flushed to the BWC yet.
A Scanner may enter Passive Mode after its active timeout period has lapsed without any scans. In Passive Mode, the Scanner will poll for badges every 5 seconds; if a badge scan is detected, it will go back into Active Mode, where it scans constantly. When the WHITE LED is on, that means that it is looking for badges to scan.
When a Scanner is asleep, it will not accept scans.
Configuring Your Scanner
Tips and Notes
- Badger Scanners use 3400-3500 mAh 18650 Li-ion batteries. The electrical disconnect switch will physically disconnect the battery from the circuit.
- Battery life heavily depends on duty cycling parameters and wireless network conditions. A typical charge will last around 8-10 hours under standard conditions.